
How to Make a Tattoo Stencil From an Image
Tools · July 16, 2026
To make a tattoo stencil from an image, import the clearest source, simplify it to intentional contours, remove noise, correct the lines manually, mirror once for the chosen transfer method and print at the real physical size. The steps below follow the actual CustomTattoo AI Stencil studio workflow. The result is a preparation draft; a tattoo artist should finalize and apply the transfer.
TL;DR
- •Start from the original image file and crop to one clear subject.
- •Use automatic processing for the base, then edit local mistakes by hand.
- •Compare at the intended print size, not only while zoomed in.
- •Mirror once and verify text before the transfer print.
- •Print on plain paper first and measure the 5 cm calibration bar.
1. Import the cleanest source image
Open Stencil studio and import the original PNG, JPEG or WebP rather than a compressed screenshot. Crop away background objects and empty space. If the design came from the CustomTattoo AI library, open it directly in the stencil editor so the source remains available for comparison.
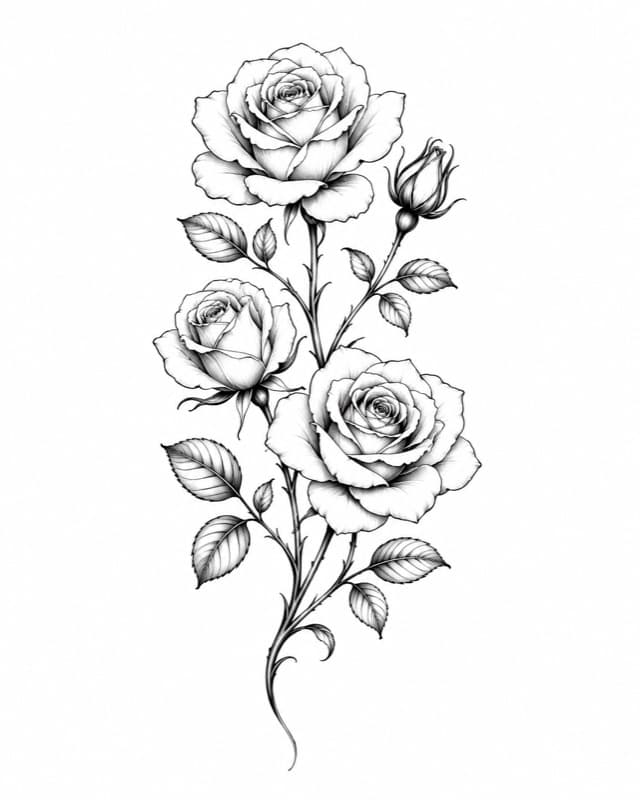
2. Choose the closest line preset
Use Fine line for sparse delicate contours, Linework for balanced illustrative outlines, or Traditional for stronger shapes. The preset is only a starting combination. Choose the one that preserves the silhouette with the least unwanted texture, not the one whose name matches the final tattoo style.
3. Tune four controls in order
| Control | Use it for | Common mistake |
|---|---|---|
| Detail | How many small edges survive | Keeping photographic texture |
| Smoothing | Reducing tiny contrast changes | Softening important corners |
| Darkness | Strengthening the visible stencil mass | Turning shadows into blobs |
| Line weight | Making chosen forms printable | Using thickness to hide bad extraction |
Lower Detail first until background texture disappears. Add Smoothing only as needed. Then adjust Darkness and Line weight so the intentional contours print clearly. Hold Compare, or press V, after each meaningful change to make sure an identifying feature has not vanished.
4. Remove specks and correct local lines
Use Remove specks to clear isolated components left by camera noise or shading. Then switch to Edit: erase false edges, reconnect broken contours and brush in only the landmarks the artist needs. Use text placement for lettering rather than accepting distorted letters extracted from a low-quality image.
5. Check the stencil at real size
Step-by-step workflow
Follow these steps in Stencil studio
Import the source image and keep this guide open while you clean, compare and print.
✨ Make the stencilAccount required · Works with uploaded or generated designs
Enter the intended width and height in centimeters. Zooming on screen can make gaps look larger than they will print. If two lines merge at real size, remove one, widen the spacing or increase the physical dimensions. Ask the tattoo artist before scaling a detailed portrait or geometric piece down.
6. Mirror once for transfer
Use the studio mirror control if your transfer process reverses the printed sheet. Check names, dates, numerals, faces and directional symbols. If the thermal printer or its app already has a mirror setting, use either the studio control or the printer setting, never both.
7. Print a plain-paper proof
Choose A4 or Letter and print at 100% rather than fit-to-page. For designs larger than one sheet, use multi-page tiling; align the labeled pages with the 1 cm overlap and cut marks. Measure the printed 5 cm calibration bar. Place the paper proof on the body area to check scale and flow before loading transfer paper.
| Final check | What to confirm |
|---|---|
| Source comparison | No essential feature disappeared |
| Line map | Every remaining mark has a purpose |
| Text/direction | Correct after the transfer orientation |
| Calibration | The 5 cm bar measures exactly 5 cm |
| Artist approval | Placement and line plan suit their technique |
Save the reusable files
Download the PNG for the handoff and save the result to the library if you expect revisions. Keep the original image and the physical dimensions beside the stencil file. A stencil without its source and scale is harder for the artist to evaluate later.
Useful next guides
Tattoo Stencil Guide
Understand which lines belong in the transfer.
Picture to Tattoo Guide
Choose a better source and protect the important features.
Tattoo Size Guide
Decide whether the design has enough physical room.
Can I make a stencil from a photograph?+
Yes, but photographs usually need aggressive simplification. Preserve the silhouette and identifying landmarks rather than every texture edge.
Why does my stencil look too busy?+
The source likely contains texture, shadows or compression edges. Reduce detail, add smoothing, crop the background and erase false edges manually.
Why did my text print backward?+
The transfer workflow reversed the design without the correct mirror step, or the image was mirrored twice. Check the final skin-facing orientation before printing.
Sources
- Tattooing 101: how stencil paper and mirror printing work · checked July 16, 2026
- ImagePrint: page setup, mirroring and plain-paper proof · checked July 16, 2026
- BLICK: thermal and tracing stencil supplies · checked July 16, 2026
Keep reading
Tattoo Stencil Guide: Lines, Mirror and Print Size
Understand what belongs in a tattoo stencil, how line choices differ from shading, when to mirror and how to prepare a real-size artist handoff.
Picture to Tattoo: Prepare a Photo for Your Artist
Turn a picture into a useful tattoo reference by choosing the right photo, simplifying detail, selecting a style and preparing a clean stencil draft.
Tattoo Size Guide: Match Detail to Real Scale
Choose a tattoo size by subject, detail, body area and composition, then prepare dimensions your artist can evaluate at real scale.